Carseat cover DIY
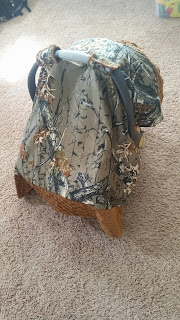
Here's a little tutorial on the carseat I made my sweet Hunter. Yes, we are THAT family who has TONS of camo all over! :) Wouldn't have it any other way! So i got this fabric on a great deal from a little store that was moving. They didn't want to move everything so i got the minky fabric for like half off. The camo was actually some sheets i bought off of amazon. yep. SHEETS!
I didn't take many pictures during the process because let's face it. Stopping to take a million pictures is kind of a hassle. But, here it my tutorial and a few photos for ya.
You will need the following supplies:
* 1 and 1/3 yard fabric for top (this is my camo sheet material)
* 1 and 1/3 yard fabric for bottom (this is the brown minky fabric i got)
* fabric scissors
* Velcro
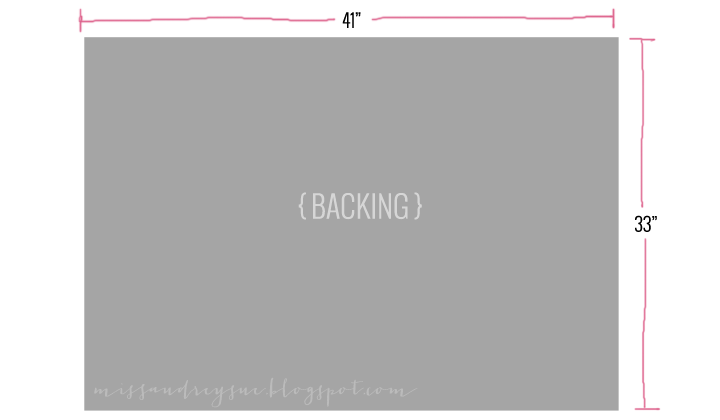
I stole these images from another gal but this is about the size i used so here ya go. I think i would up going an inch bigger on each side because i wanted to make sure Hunter was good and covered for winter.
step 1: Cut your backing (my camo) to the 41x33, and then cut your top (again my camo) to 31x33 along with your minky sides of fabric at 5x33
step 2: sew sew sew. te Minky fabric is a pain to sew so i pinned it like ever 1/4- 1/2 inch to make sure it stayed in place. I first sewed my two end minky to the top camo. Like so:
step 3: Then layed my top and bottom fabrics together right-sides facing each other, and pinned them together. Make sure the right sides face each other or you'll need to put a lot of money in the swear jar!
step 4: start sewing in the middle of one of the longe sides and sew all the way around leaving about a 5-10" section open. Pull the whole thing right-side out, and finish sewing the gap you left open.
You should be feeling pretty accomplished at this point! It's looking great right?!?!
Now on to the straps.
step 1: cut 4 sections of your chosen fabric (i did camo) to 3"x7" strips
step 2: take 2 of the strips and pin them together right sides in. Sew all the way around again, leaving one of the 3" ends open. Pull it right side out, and then sew up the open end. Repeat this process for the other 2 strips.
step 3: cut your velcro so it will fit on your strap. Remember to cut one side/place one piece on each side of the strap so that they match up when you wrap it around the carseat handle!
step 4: Now you get the fun of attaching the handles to your cover. Mine were placed about 21 1/2 inches in from the front and 7" apart but depending on where you want the attachment to be on your carseat you may want to play with this a bit.

Once you get those sewed on you're good to go!!
Here are my personal pics from this project.
VIOLA!! Good job crafty mamas.


Comments